


In this guide: About the Gorilla Hut · Supplies · Construct · Deploy
- It's time to get some materials
- The skeleton is SCH40 PVC pipe
- Rope, ratchet straps and the 100% UV blocking tarp
- Measure and set the rebar foundation
- Construct the PVC skeleton
- Cover the skeleton with tarp
Download the complete guide (PDF)
32 pages, every figure and caption, 6 MB. It works without this website: print it or keep it on your phone for the build.
Upgraded Monkey Hut Design
The Gorilla Hut is the best choice among DIY shade structures!
Are you going to Burning Man and need a shade structure?
Can you follow DIY building guides with clear instructions?
Is packing space a concern in your Burning Man vehicle?
Gorilla Hut is the portable desert shelter for you!
This guide shows you how to make a shade structure that covers 200sq.ft., withstands extreme weather, and fits inside a mid-size car. This is the most compact, sturdy monkey hut I have seen.
A few years ago I wanted to build my own shade structure to provide shelter at Burning Man. I started where you probably did: with an Internet search. I found plans for "monkey huts" but no one building plan had all the features I desired. No plan explained every step in a clear manner. "Why isn't there a guide like building toys from my childhood?" I bemoaned. Finally, after much research, I built my structure. I decided to make the guide that I wanted and share it with everyone!
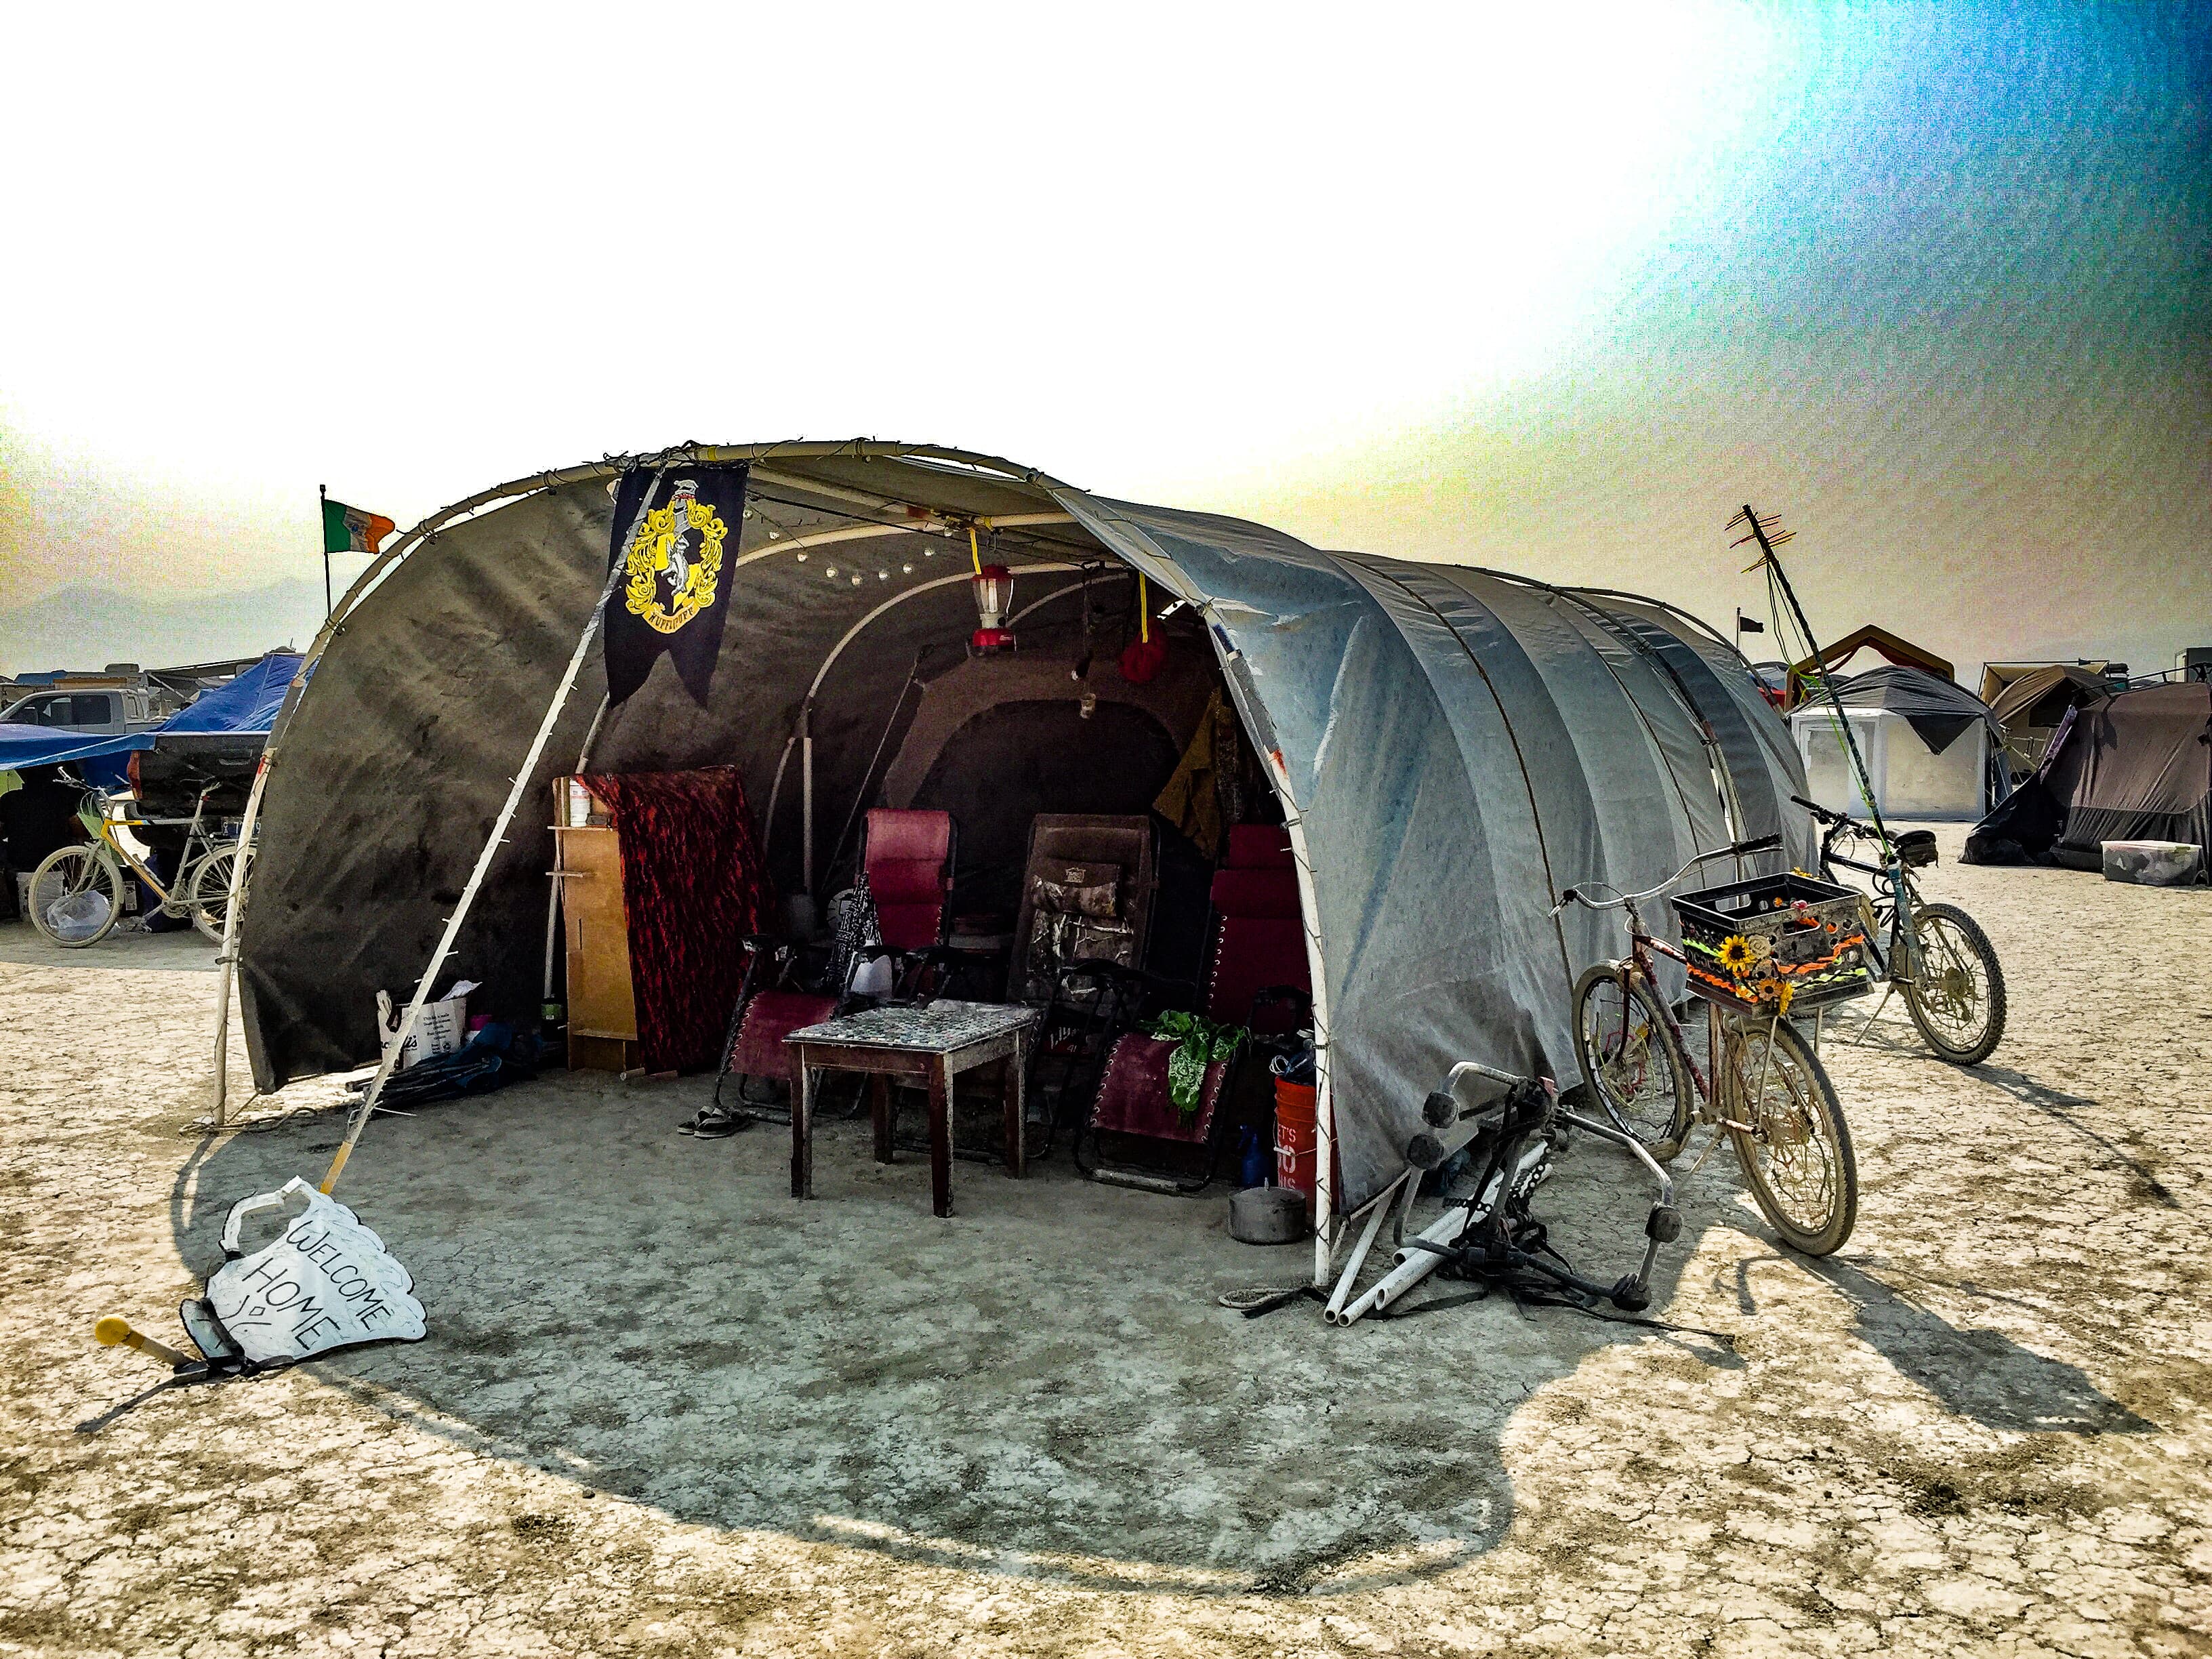


Build your portable desert shade structure.
Don't monkey around. Build the strongest shade structure.
Whether you are traveling to Burning Man or exploring the desert someplace else, shade is a critical issue. Gorilla Hut provides a free, straight-forward guide to building your own shade structure. The advantage of building a Gorilla Hut are clear.

In the heat of the desert, only 100% UV blocking shade will keep you cool. Protect yourself with pure shade!

Desert winds can reach extreme speeds. With the Gorilla Hut shade structure you don't have to worry!

Standard monkey hut designs require 10ft PVC sections. The Gorilla Hut breaks down into 5ft sections!
Our mission is to create free shade structure designs
We want to provide you with high quality designs for building DIY portable desert shelters.
Supplies
These are the supplies you need for your DIY monkey hut
Build something stronger than a monkey hut.
Build a Gorilla Hut!
This tough shade structure blocks the heat, endures the wind, and fits in a mid size car.
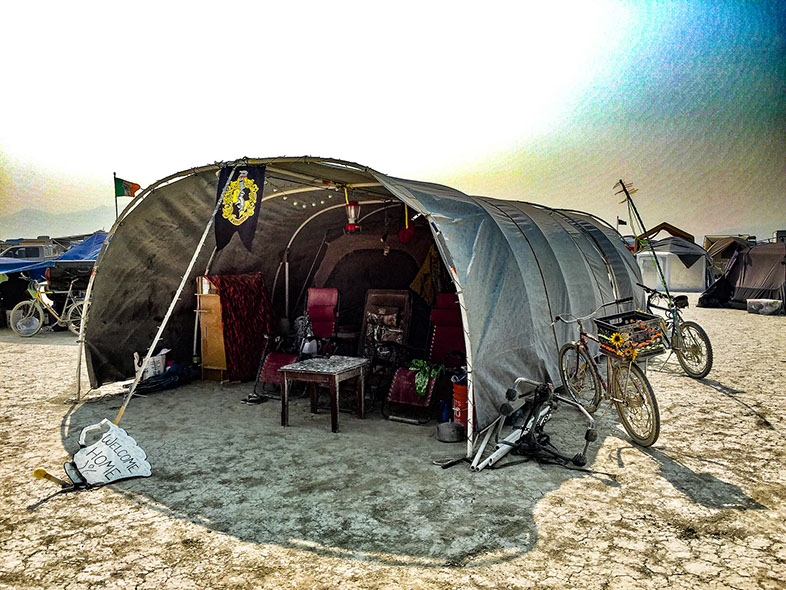
This monkey hut design is one of the strongest and most reliable I have seen. The Gorilla Hut shade structure cost around $500 in materials, covers over 200 SQ.ft, and breaks down into 5 foot sections. I have taken my Gorilla Hut to the playa three times now and I can say, this shelter will survive anything Burning Man can throw at you.
1. It's time to get some materials.
NOTE: These are the exact quantities necessary for this build.
If you are going to screw up, or want to make replacement parts, then buy a few extra.
Big box stores will have almost everything you need, but shopping around will keep costs low.
For some materials I provided links to recommended products.
You definitely want a 100% Sun Blocker Tarp and Schedule 40 PVC. It is worth the extra money.
Rebar should be sourced carefully, as the price difference between big box and local can exceed $100 dollars for the project.
I am not affiliated with any products.
Here are the materials you will need to buy:
- (1) Drill (borrow if you don't own. product pictured is not a recommendation.)
- (1) Measuring Tape
- (1) 3lb Steel Mallet
- (1) PVC cutter (spend the extra $14 or so for the right tool)
- (20) 2' long, 1/2" diameter re-bar stakes (never hurts to have a few extra)
- (10) 10', SCH40 1" PVC (Thin pipe for creating ribs)
- (1) 10', 1" PVC (for covering rebar)
- (8) 10', SCH40 1-1/4" PVC (Fat pipe for creating spine)
- (2) 1-1/2" PVC T fittings
- (3) 1-1/2" PVC X fittings
- (21) 2" Screw w. Nut (#8-32 x 2" ROUND head slotted zinc machine screws)
- (21) Lock Washers (#10 zinc lock washers)
- (4) 15ft Ratchet Straps w. 2 Hooks
- (4) 10 ft Ratchet Straps w. 2 Hooks
- (120ft) Rope (read section "Preparing the Tarp and Tie Downs" for more information)
- (1) WD-40
- (1) Roll of Gorilla Tape (or other thick construction tape)
- (1) Roll of Reflective Tape
- (1) 100% Sun Blocker Tarp - 20' x 24' (takes time to order)
- (32) 6" ball bungees
- (10) 9" ball bungees
- (10) 12" ball bungees
- (10) Heavy Duty Zip Ties

Construct the Gorilla Hut
This monkey hut plan fits inside most cars
2. The skeleton of your Gorilla Hut is SCH40 PVC pipe.
CONSTRUCT THE GORILLA HUT.
Unlike standard monkey hut designs, the Gorilla Hut does not require 10ft PVC pipes.
Using only 5ft pipes, this design fits inside a midsize car.
Layout your materials and find a good spot to cut your PVC.
Cut the PVC. (Figure C1)
- Cut (10) thin pipe in half. These will become the Gorilla Hut rib segments. They are done, so set them aside.
- Cut (1) fat pipe into (10) 1 foot lengths. As you measure these, mark a point 6 inch along the length. These pieces will become rib joints, connecting two rib segments.
- Take (1) fat pipe and cut 1 foot off of the end. Measure 4ft6in, half the remaining length, and cut. This is a spare rib joint and the short sections of the spine.
- Cut (3) fat pipe in half. These become the Gorilla Hut spine segments and spine joints.
- Cut (1) fat pipe in half, and cut the end of (1) half off at a 30° angle. One half goes to the spine, one half becomes a support column.
- Cut (2) fat pipes in half on a 30° angle. These become support columns. Don't worry if they are not all perfectly the same size.

Next, add tape to hold fittings in place.
The PVC pipe is smaller than the fittings, so wrap the pipe with tape to create a snug but flexible fit.
Gorilla Tape works best because it is thick, reducing the total number of wraps needed to make to achieve a snug fit.
Crossbeam Fittings
Wrap tape on spine joints. (Figure C2)
Select (2) 5 foot sections of fat pipe and (2) 4ft6in sections of fat pipe, then wrap tape around the ends of the pipes until they fit snuggly into a 1-1/2in X-fitting.
The tape wrap should be 1/8in thick.
They should slide in relatively easily, and they should not be able to push through the fitting entirely.

Spine Sections
Slide fittings over tape on spine segments. (Figure C3)
- Select (5) 5 foot sections of fat pipe.
- Wrap tape around the precise middle of each pipe until the wrap is slightly less than 1/8in thick.
- Slide the X and T fittings down over the tape wrap, pushing through until centered. The fitting should hold snugly, but if forced the joint should wiggle back and forth.
If you are struggling to get the fitting over the tape and can pull the fitting off, do so and remove some tape.
If you are struggling and cannot pull the fitting off, spray the inside of the fitting with WD-40 and gently hammer the fitting over the tape.

Add bolts to fat pipes to hold thin pipes in place.
Add bolts to rib joints and spine. (Figure C4)
Since the thin PVC slides inside the fat PVC, you will need to add bolts to prevent it from sliding as far as it can.
Every bolt is located 6 inches from the end of the PVC pipe it goes through. Mark the location where the bolt will go and pre-drill a hole through both sides of the PVC.
Be sure the hole goes straight through the pipe by checking from all angles.
- Find the middle of all (11) of the rib joints, and put a bolt through them.
- Mark 6 inches from each end of all (5) spine sections and put a bolt through both ends.
The X or T fittings must be in place by now.
Both bolts must be facing the same direction or they will damage the tarp.

The skeleton of the Gorilla Hut shelter is now complete!
3. The Gorilla Hut is held together with rope, ratchet straps, and 100% UV blocking tarp.
Thread the rope through the 20 foot edges of the tarp.
Run rope through tarp. (Figure C5)
The right rope is essential to this build.
The rope must fit through the holes in the tarp, which are around 1 inch.
Para-Cord is too stretchy and cannot be used.
Climbing rope can be a good option since climbers often buy new ropes, and sometimes you can get used rope for cheap. You want the sturdiest rope that will fit through the grommets in the tarp, so shop around a bit. Rope can be surprisingly expensive, so make sure you don't have to buy it twice!
- The first step to preparing the tarp is to cut the 120 feet of rope into (4) 30 foot sections.
Cauterize the ends using a lighter, stove, or blowtorch.*
Set (2) aside.
*If the cauterized ends must fit through the tarp grommets, so cut the rope ends at an angle and press the melted nylon against a hard surface using a rolling motion.
Imagine you are sharpening a pencil... Also, don't burn yourself...
- Identify the shorter 20 foot side of the tarp.
Thread the rope through the first grommet, leaving 5 feet of rope at the end.
Proceed to thread the rope through all the grommets on that side, using an over/under running stitch.
There should be about 5 feet of rope on each end.
- Repeat this process on the other 20 foot side of the tarp.

The tarp is finished, so here is how to put it away!
Fold the tarp. (Figure C6)
- To store your tarp, fold in half so that the two ends with ropes are together but the ropes are not overlapping.
- Fold in thirds, then in half, until the width of the tarp will fit in a 27 gallon large plastic tote.
- Now simply roll the whole tarp up, leaving the ropes outside of the roll.

The next step is to get the ratchet straps ready.
Tie loops in ratchet straps. (Figure C6)
The objective is to tie loops in the ratchet straps
This allows them to attach to your Gorilla Hut skeleton more easily.
- First, set aside (2) 15 foot ratchet straps. These will not be modified.
- Take the remaining ratchet straps.
Identify the side with a hook but no ratchet, and measure 2 feet from the end.
Mark this place on each strap.
- Pinching the marked location and tie a basic overhand knot without twisting the strap.
This creates a small, 2-3 inch loop.
Do not over tighten this knot.
- Separate the ratchet straps by length.
- For 15 foot straps, measure and tie a loop 7 feet from the first loop.
Be sure the strap does not twist.
Do not over tighten this knot.
- For 8 feet straps, measure and tie a loop 3 feet from the first loop.
Be sure the strap does not twist.
Do not over tighten this knot.

Congratulations!
You are ready to deploy your Gorilla Hut!
We recommend you practice deploying Your new shade structure in a familiar environment first.
Deploy the Gorilla Hut
Set up your monkey hut once before you arrive at Burning Man
4. Measure and set the rebar foundation.
The first two stakes are easy.
Setting the first two stakes. (Figure D1)
You will need a measuring tape, a sledgehammer, and a sense of direction.
Your Gorilla Hut must be aligned on a north-south access for maximum shade, so you will need a compass application on your phone.
If you need to deviate from this axis, then try to deviate by less than 15 degrees.
Begin by selecting the corner of your hut that will be closest to the street.
Ensure the opening of the hut is at least 10 feet removed from the road.
Drive stake1 into the ground halfway (1ft).
Ensure it remains perpendicular to the ground by checking from multiple angles as you drive it in.
Measure 14 feet along an east-west axis and repeat for stake2.
The next two stakes are tricky.
Triangulating the position of the next two stakes may require two people to hold the tape measure.
Measure 20' from stake1 along a north-south axis and draw a short arc on the ground using a piece of rebar.
Repeat this process for stake2.

The tricky stakes continued...
triangulate stakes three and four. (Figure D2)
Tentatively set Stake3 (6inches).
Now measure 24ft5in diagonally from stake2 toward arc1.
Draw a new arc at this distance.
The place where these arcs intersect is where stake3 will go.
Drive it in partially.
Tentatively set Stake4 (6inches).
Measure the other 24ft5in diagonal from stake1 to arc2.
Draw another arc, and partially drive in stake4 where these arcs intersect.
Double check your work.
Measure to insure stake3 and stake4 are 14 feet apart.
After checking the rebar stakes, drive them halfway (1ft) into the ground.
In preparation for affixing the tarp, dig away 2 inches of dirt around the base of these (4) stakes.
This makes space to tie the tarp's rope to the rebar, and still have the PVC sit flush with the ground.
Now that you have the corner stakes in place, it is time to lay the rest of your foundation.
Place the next (6) rebar stakes. (Figure D3)
Use your tape measure to create a straight line along the 20 foot edge of your rectangle.
Place (6) rebar stakes, (3) along each of the 20 foot sides.
Place the stakes according to the diagram below or your monkey hut's ribs will not join with the spine correctly.
Measured along a tape, the rebar should be placed at 5ft4in, 10ft, and 14ft8in.
Drive the stakes halfway into the ground.
Ensure the stakes remain perpendicular to the ground by checking from multiple angles as you drive them in.

5. Construct the PVC skeleton.
The first step is to building your shelter is putting the ribs together.
joining rib sections with rib joints. (Figure D4)
Begin by placing (10) rib sections on the (10) re-bar stakes.
Place (10) rib joints over the rib sections and set the last (10) ribs sections inside the rib joints.
At this point you should have (10) 10' poles extending up from your (10) initial re-bar stakes.
Ensure all bolts face inward so they do not tear the tarp.

Next, join the ribs overhead to form arches.
Join the ribs to the spine sections. (Figure D5)
Have something portable to stand on while you do the next steps.
- Pull down the first rib section, bending the whole rib like a bow.
- Slide the spine segment onto the top of the rib.
- Reach across and pull down the opposite rib, bending until it slides into the spine section.
- Ensure all bolts face inward so they do not tear the tarp.
- Repeat for the remaining (4) spine sections until you have (5) complete arches.

Join the arches using fat pipe wrapped in tape.
join the spine sections with spine joints. (Figure D6)
The fit should be snug enough that the pipes are held in place.
Have something portable to stand on while you do the next steps.
Join central arches with X-joints using 4ft6in fat pipes.
Join external arches with T-joints using 5ft fat pipes.

Attach the ratchet straps in an alternating pattern to reduce structural aberration.
strengthen the structure by adding ratchet straps. (Figure D7)
Attach (4) 8 foot straps.
Begin with your ratchet straps separated.
Swing the hook on the non-ratcheting side over the top of a spine section.
Attach the hook to the loop so that the strap hangs from the spine section about two feet from the X- or T-fitting.
Attach the ratcheting mechanism to the second loop on the strap by the hook.
Standing on a step, bring the strap over the adjacent spine section and feed it into the ratcheting mechanism.
Do not over tighten your ratchet strap!
Repeat as shown in Figure D7.
Attach (2) 15 foot ratchet straps with loops.
Repeat the steps above with 15 foot looped ratchet straps as shown in Figure D7
The strap can go above or below the skipped spine section.
Do not over tighten your ratchet strap!
Testing for stability.
With (6) straps in place the spine should be flexible yet stable.
If there are loose sections or bends in your complete ribs, tighten the ratchet straps.
Unless something looks really wrong, it is probably fine.
Give it a shake test.

Support columns give the Gorilla Hut additional stability in extreme wind.
support column locations. (Figure D8)
If you know the prevailing wind direction in your location that will help.
Place the support columns underneath the archway formed by the ribs.
The flat end should contact the ground and the angled end should contact the rib.
They may contact the rib section or the rib joint.
Secure the support column in place with 2-3 wraps of construction tape.

6. Cover the PVC skeleton with tarp.
Tie the first side of the tarp to the corner rebar.
Attach the first side of the tarp. (Figure D9)
Ensure one last time that ALL the bolts, on both the rib joints and spine sections, are facing inward so they do not tear the tarp.
If you have not dug out from under the (4) corner stakes, have a friend lift the corner rib sections and dig away 2" at the base of each stake.
Your tarp should be stored properly before being deployed. Check Construction to ensure proper storage.
Unroll your tarp along a 20' side.
If there is a wind, choose the upwind side of your hut to unroll the tarp.
Regardless of wind conditions, unfold as little of your tarp as possible at one time.
Have a friend lift the first corner rib section while you tie the tarp rope to the exposed rebar stake using a clove hitch.
Drop the rib back in place.
Repeat on the opposite side.
One side of your tarp should now be anchored to one side of your shelter.

Attach the second side of the tarp.
Attach the second side of the tarp. (Figure D10)
Pull the tarp over the Gorilla Hut's PVC skeleton.
With a friend, pull on the rope that runs through the other side of the tarp.
Shake the ropes to help the tarp slide up and over the spine, or get third person to help lift the tarp where it gets stuck.
Once the tarp covers the skeleton, tie the tarp ropes to the corner rebar on the second side, just as you did on the first side.

Attach the tarp around the openings of the hut.
Bungee Ball Attachments. (Figure D11)
Gather up a variety of bungee balls and begin to affix the tarp to the outer-most complete ribs.
Ideally it should be possible with all 6" bungees, but no one is perfect.
Use 9" and 12" bungees where the tarp is further from the complete ribs.
I wear bungee balls like bracelets as I do this step. This keeps them handy, but out of your hands.

Attach the bottoms of the tarp and add guy lines.
Stakes and guy lines. (Figure D12)
Place a total of (8) rebar stakes along the outside of the hut on both sides.
Put them between each pair of ribs, as close to centered as possible.
Thread the stake between the tarp and the rope and pound it in at a 45° angle.
As with other stakes, ensure half of the stake is underground.
Toss (2) 30 foot ropes over the middle of the Gorilla Hut.
The next figure will show how to attach them.

Anchor guy lines and secure with zip ties.
Anchoring lateral guy lines. (Figure D12)
Using a clove hitch, tie the rope to the central rebar stakes.
Wrap a zip-tie around the knot and rebar and cinch it into place.
Wrap a zip-tie around the tarp rope and rebar in locations without guy lines.

Add final guy lines.
Axial guy lines. (Figure D13)
Measure approximately 10 feet perpendicular from the center of each 14 foot opening, and drive in a rebar anchor at a 45 degree angle.

Attaching Axial guy lines to t-joint. (Figure D12)
Attach 15 foot ratchet straps to T-joints.
Take your (2) 15' ratchet straps without loops and locate the non-ratcheting end.
Approaching from the anchor, toss the hook over the spine section, swing it under the spine joint, and back over the spine section on the opposite side.
Hook it to itself.
Attach the ratchet straps to the anchor.
Hook the ratcheting end to the 45° stake.
Do the same on the alternate side before tightening.

Cover exposed rebar stakes, and put some reflective tape on guy lines.
The Gorilla Hut is complete!
Celebrate and stay cool!
Creative Commons License (BY-NC-SA 4.0). Website designed and developed by AL B. Goldin.
Gorilla Hut

Free guide to the Gorilla Hut, a portable Burning Man shade structure: 200 sq ft of 100% UV shade, built to take playa wind, packs into a mid-size car. Materials list, cut diagrams, a rotatable 3D model and a 32-page PDF.
Project Scope
Product Design, Technical Writing, Web Design, Web Development